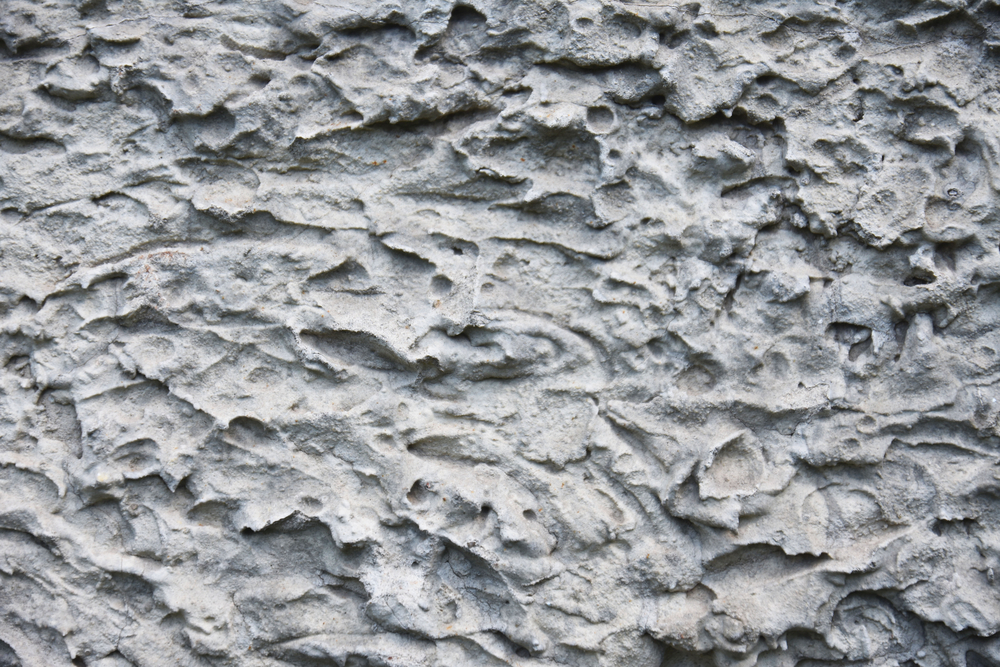
When you enter somebody’s home for the first time, you might not pay the most attention to the ceiling. Similarly for homeowners, as long as the paint holds up, ceilings are usually not something you would pay extra attention to. Even when there are imperfections, you could always count on applying a popcorn texture to cover it up. That is, if you were still in the 60s and 70s.
Nowadays, the once trendy popcorn ceiling is not as popular as before. In fact, it can be quite an eyesore for modern aesthetics. It can also be a hassle to clean as it catches dust quite easily, and should it require repairs, it can pose quite a challenge as well.
If you are tired of looking at your popcorn ceiling, and are in search of a way to get rid of it all, you are in luck. You can choose to do the removal process yourself or better yet, hiring painters in Boynton Beach to do it is actually quite affordable.
How to Get Rid of Popcorn Ceilings
Scrape Test
Before you even get started, do a scrape test first. First, do it dry, before damping the popcorn ceiling with some water and repeating the scraping. It helps to know what kind of popcorn texture you are dealing with.
Certain textures will come off quite easily without water. If the texture does not absorb the water and soften, you are looking at a tougher job. In such a case, you might want to look for professional help or an alternative to cover up the ceiling.
Testing For Asbestos
For popcorn ceilings of a certain vintage, it is more likely to contain the dangerous component of asbestos. Be sure to get some help in testing for the presence of asbestos.
If the test comes back positive, you are definitely safer enlisting the help of experts rather than attempting the job yourself.
Setting The Stage
With all of that out of the way, you will need to prep the space for popcorn ceiling removal. There will be a mess for sure, remove as much of the furniture as possible. If that is not possible, try to keep everything clustered up and covered with drop cloths. The same goes for your floors and walls.
Any lights or ceiling fans should also be removed before the job. Covering anything electrical is also very important, be sure to turn off electricity as well as a precaution. Ensure the space is well ventilated before you start.
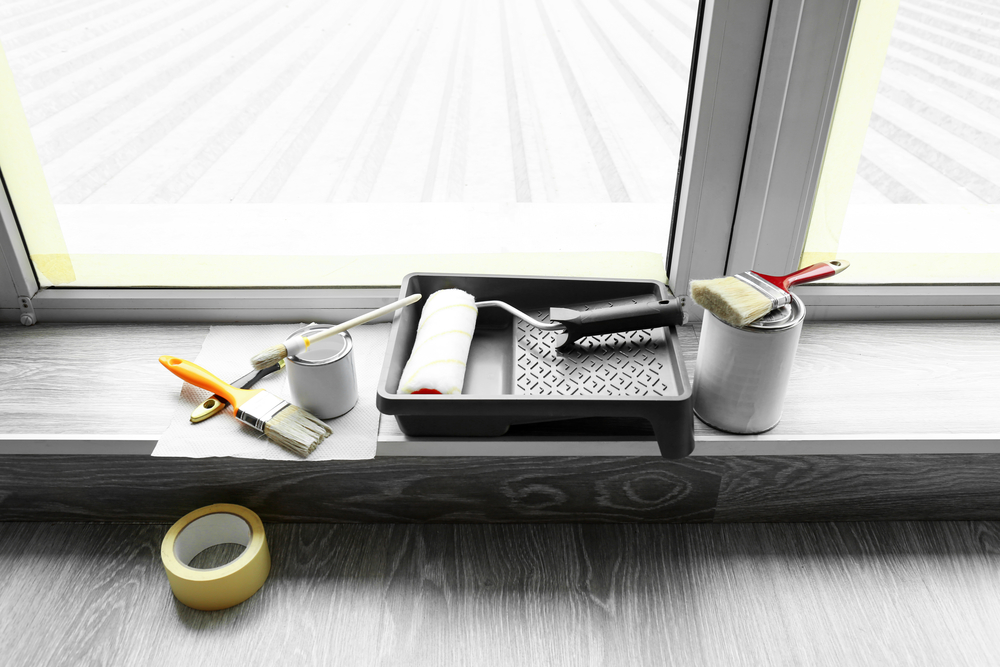
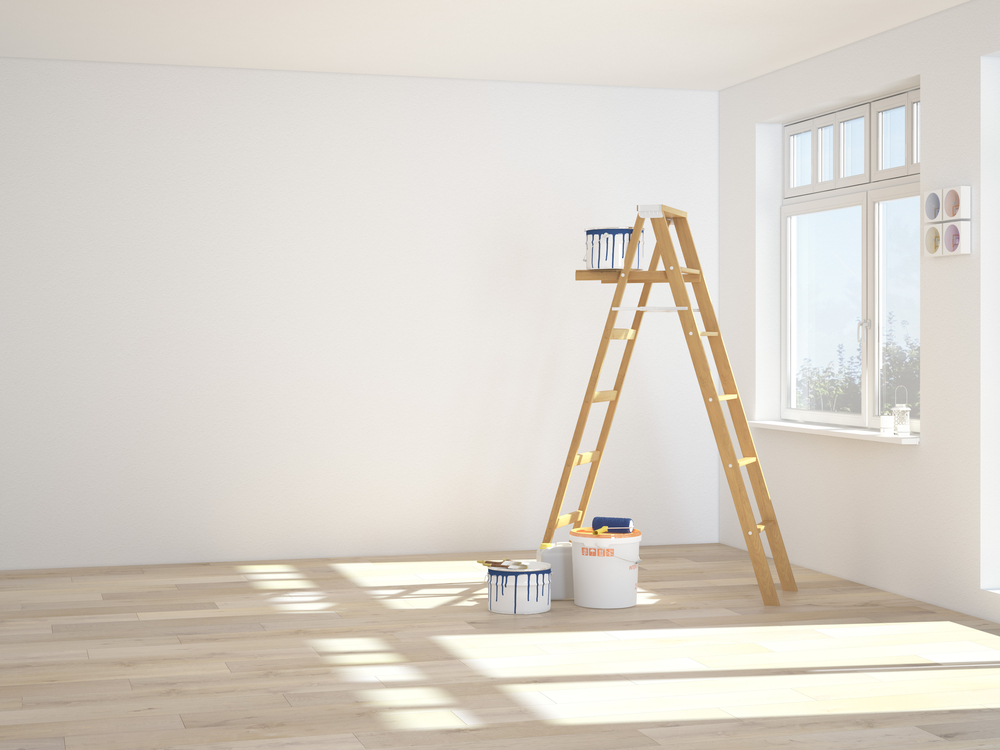
Now, gather your tools. A garden sprayer will help with wetting the ceiling, while a wide putty knife or a drywall taping knife will be your main tool. A ladder is definitely a must, while a dust mask and goggles will protect you from the debris that might follow.
Let The Fun Begin
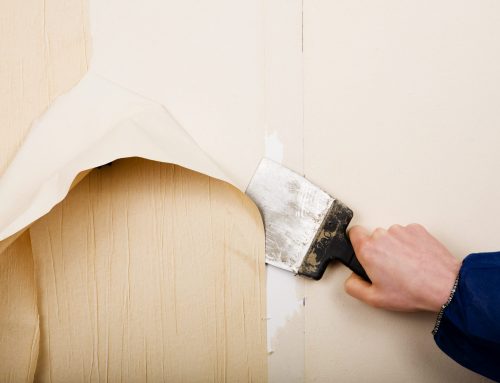
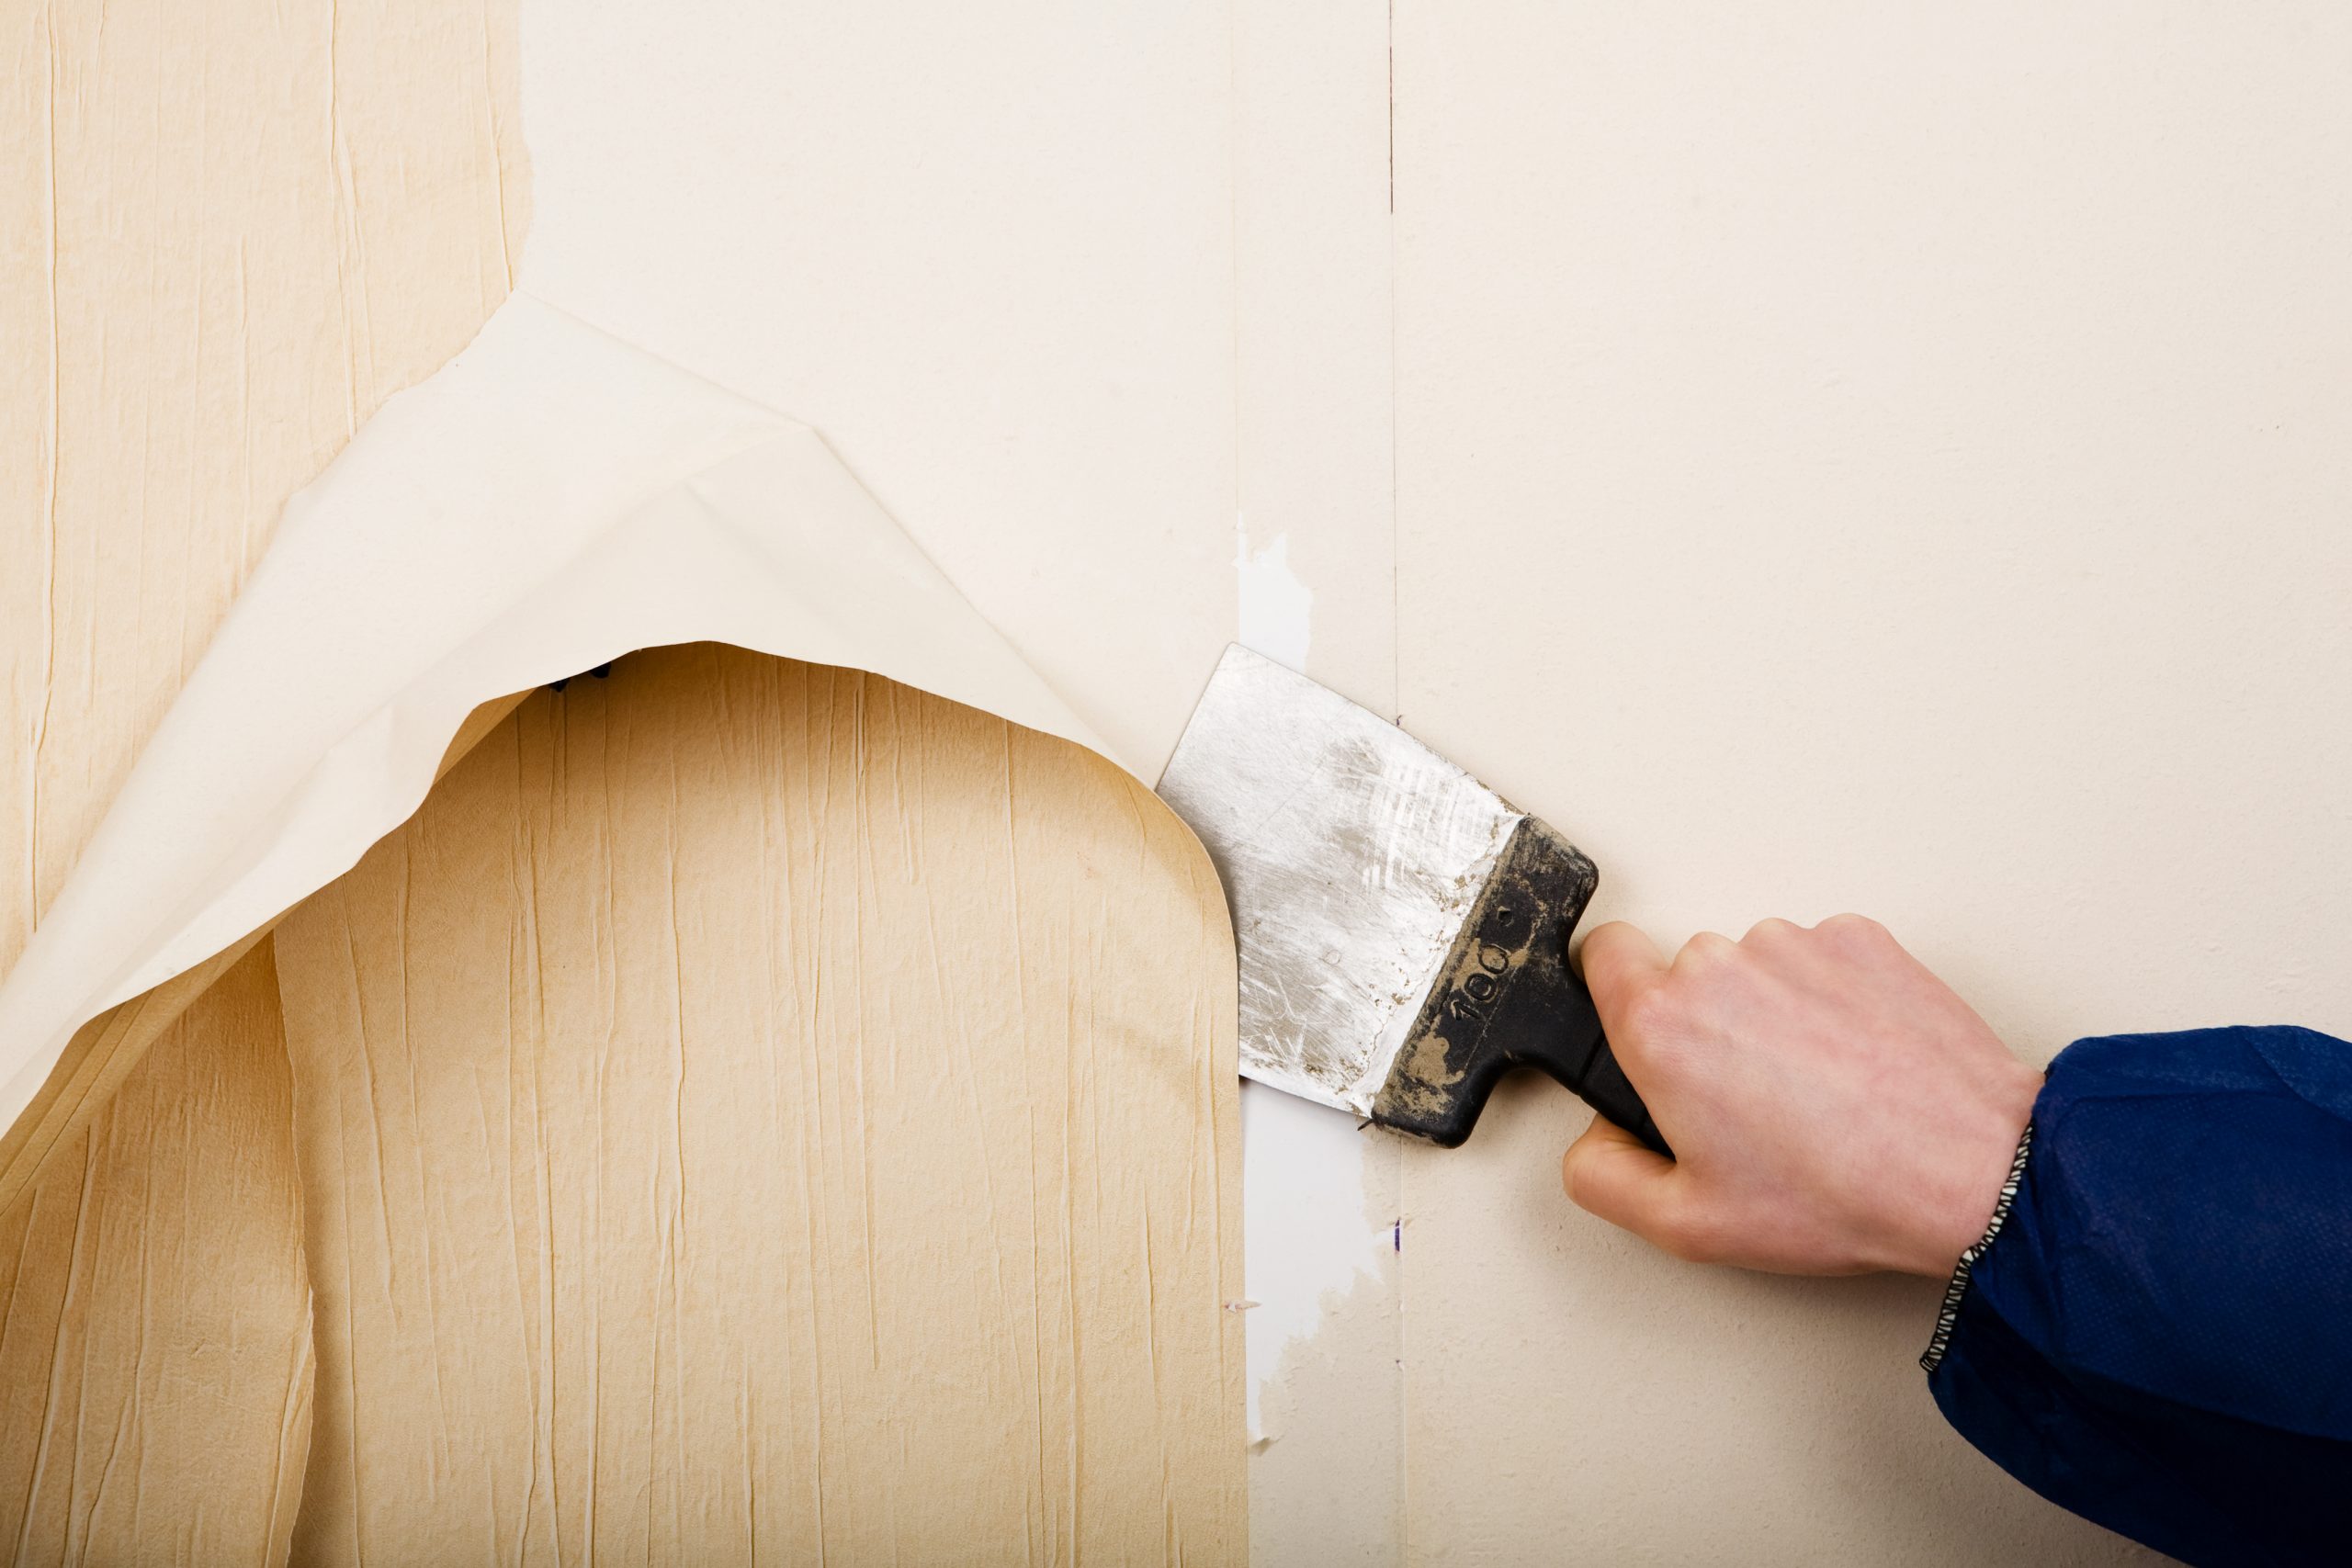
Now comes the fun part. A wet scrape is always going to be better than a dry scrape. So start by wetting a small area of the ceiling. Working in small sections will keep things moving along. However, do not use too much water, as it might damage what is underneath the popcorn texture.
Wait for about 15 minutes after a spray, before you begin scraping. Gently run your putty knife or taping knife along the ceiling. Do not exert too much force and gouge the ceiling beneath. Repeat the process around the room and remove all of the texture.
Wrapping Up
Once the whole ceiling has been taken care of, it is time to sand, prime, and paint. Look for any damaged areas, repairs need to be done now. Covering up other imperfections like screws and joints can also be done here.
With sanding done, you can proceed to paint the ceiling. Now you have a brand new ceiling to look at and enjoy.
The job may seem daunting at first, but removing a popcorn ceiling does take patience and hard work. If you’d rather not go through all the hassle yourself, hire a professional painting crew to do the job for you.

